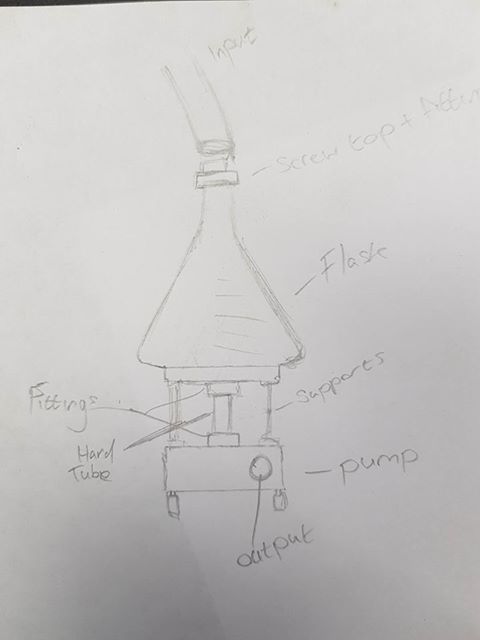
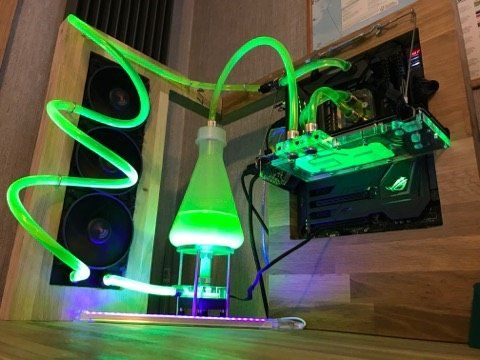
Conical Flask Reservoir
Whilst running Respawn Gaming LTD I was approached by someone to make a custom liquid cooling reservoir
During the show at Resonate, Scotland I was approached by someone who wanted to build a custom "Chemistry" themed PC and wanted a custom reservoir to bring his idea to life

Challenge
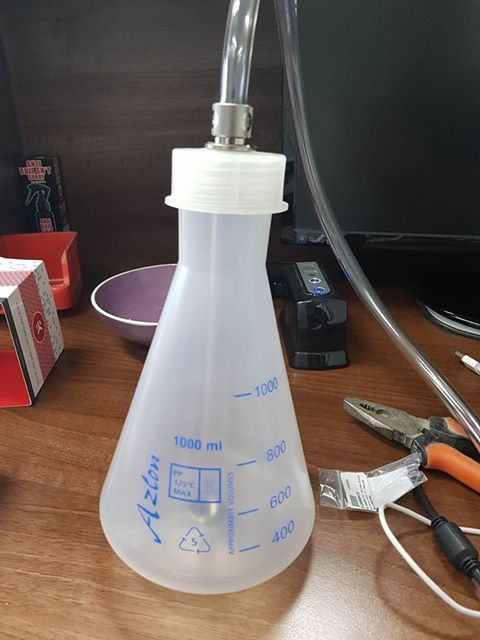
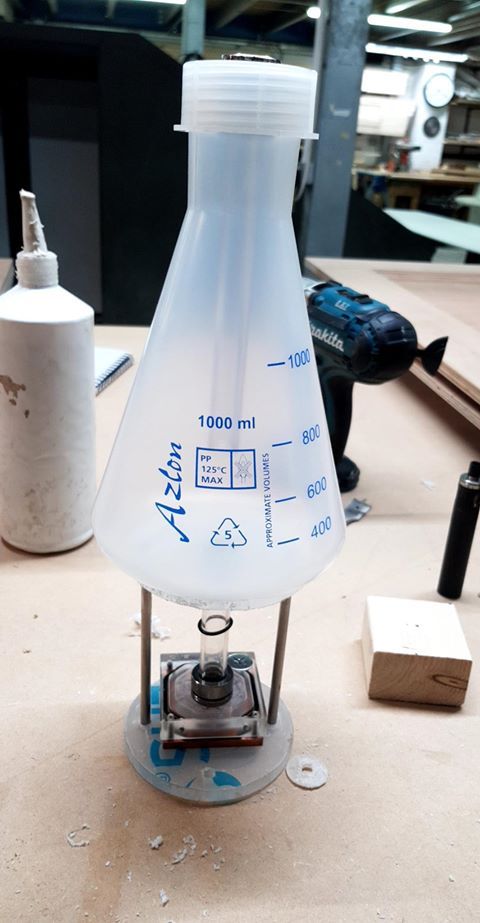
This was one of the more out of the box projects I worked on and it was great fun developing the concept and making sure it tied in with reliable functionality. One of the first debates was on what size and material the flask should be. I would have loved to have used a glass flask however with how the PC was set up and the reservoir being so exposed, along with the fact the base of the flask would need to be drilled out and a tight fitting added I discussed with the client and we went for a medical grade PVC/Plastic flask.
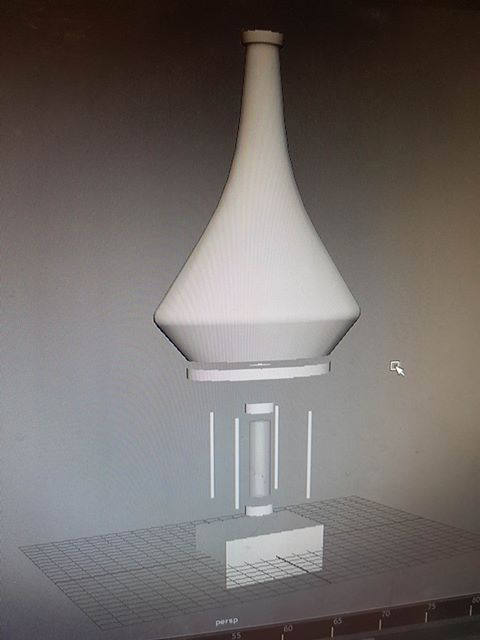
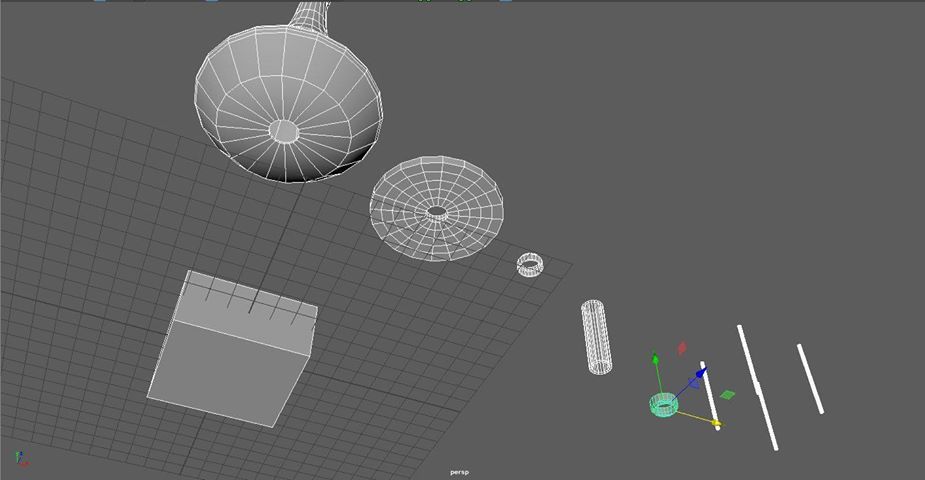
The flask would need support and I wanted to create something that looked like it belonged in a lab, not just a flask next to a pump. I used 2 Perspex disks cut from a sheet and heat-polished the edges as a base for both the pump and the flask. Held together with 4 stainless steel threaded rods. they were screwed into the top disk and bolted into the lower so that they could be removed if needed.
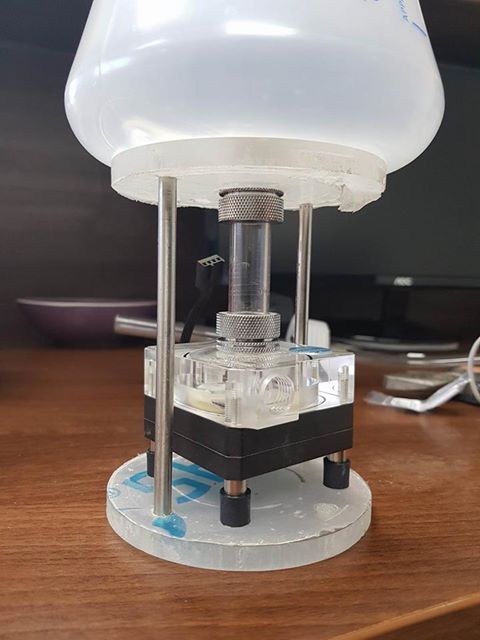
To create the more "lab" like feel I used a small pump with hardline acrylic pipe and fittings directly below the flask to create the image that the flask was on a sort of bunsen burner. A flat passthrough fitting was screwed into the bottom of the flask which was then tightly screwed into the top acrylic disk with some added plumbers tape in areas to ensure no leaks.
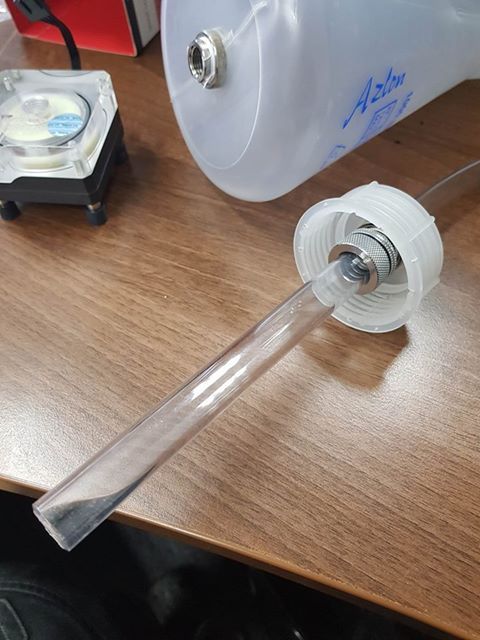
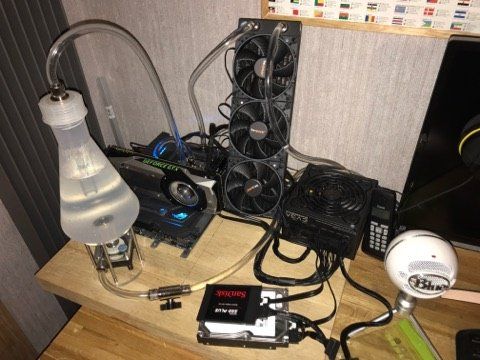
Once I was satisfied with the watertight seal and stability of the set up on a flat surface, I drilled out a screwtop cap for the flask and added 2 more fittings, a hardtube fitting for inside the flask which was around 30mm from the passthrough in the bottom, so the liquid would not just fall into the flask directly and cause bubbles. A soft tube fitting was placed ontop of the screwtop for the intake of coolant. A quick disconnect fitting on the soft tube intake made it easy to disconnect, remove the screwcap and fill the reservoir. We ran a 36 Hour leak test and sent a number of images to the client to sign off on before sending it. I recommended some UV reactive coolant and where to buy Blacklight LED's to use in his build to give off a more "Mad Scientist" vibe.